
Small sites have a special talent for turning “a quick lift” into a half-day drama. One parked ute blocks the only access lane. The service lift is booked out. The stairwell landing is tighter than the sketch suggested. Then the item arrives, the team realises it won’t rotate through the doorway, and everyone starts improvising.
That’s not just annoying — it’s where injuries and damage sneak in, and where schedules quietly blow out.
The good news is you don’t need a perfect plan. You need a plan that matches the reality of your site: access, height, weight, people, and timing. If you’re hiring local hoist and convey gear in Sydney for a fit-out, a plant swap, a mezzanine install, or a warehouse adjustment, the goal is simple: move the load safely, with the least handling, and with zero “surprise” steps.
The real problem isn’t the lift — it’s the path
Most delays happen before any hoist is even unpacked. The questions that matter are about the route, not the tool.
Start with the load’s full journey: where it arrives, how it gets inside, where it needs to end up, and what gets in the way — the same basics that shape any plan for local hoist and convey gear hire Sydney.
On small sites, “we’ll figure it out on the day” usually means people become the handling method — and that’s where strain injuries and product damage show up.
A practical way to think about it is: control the path, reduce manual handling, and make the lift boring.
What you’re actually choosing when you “hire a hoist”
People often say “we need a hoist” when they really need a small system: lift + travel + control + connection to the load.
Here’s what tends to sit inside that system on typical Sydney jobs.
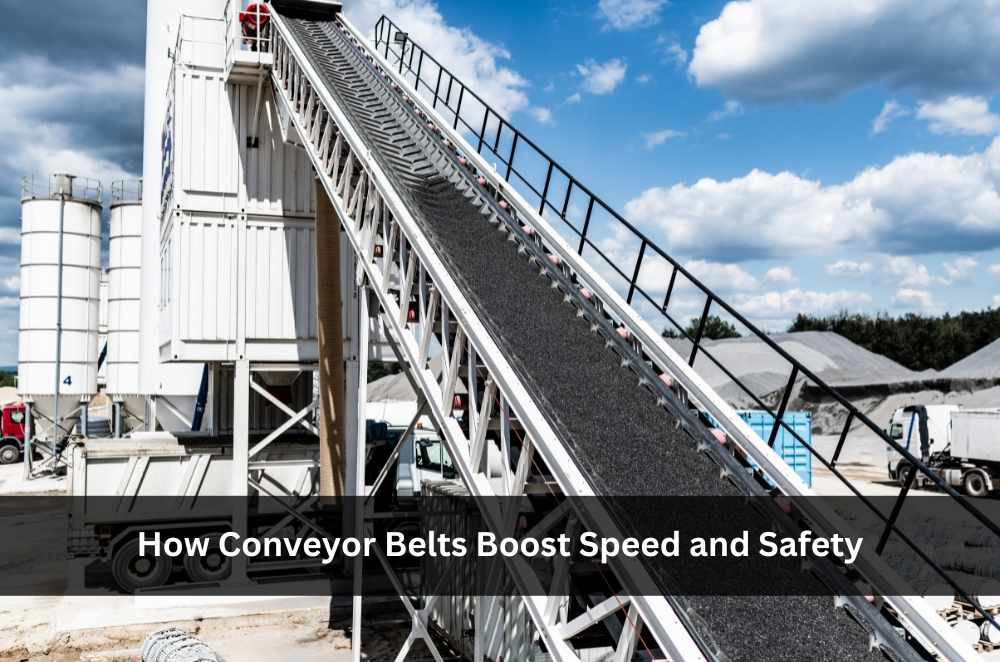
Hoists and pullers
Chain blocks (manual chain hoists): great for controlled vertical lifts when you have a solid anchor point overhead and you can take your time.
Lever hoists (come-alongs): useful when you need to tension, pull sideways, or make small controlled moves where a straight vertical lift isn’t the whole story.
Electric hoists (where suitable): can save time for repetitive lifts, but they bring extra planning around power, controls, and exclusion zones.
Getting the load to travel
Beam trolleys / travel trolleys: when the load needs to move along a line (think: shifting something across a workshop bay rather than just lifting it up and down).
Pulleys and sheaves: for changing direction, improving control, or working around obstructions (used carefully and correctly).
Connecting to the load
Slings (webbing or chain), shackles, hooks, lifting points: this is where the “it’ll be right” mindset causes the most trouble.
Edge protection and packing: small detail, big impact, especially with sharp corners and painted finishes.
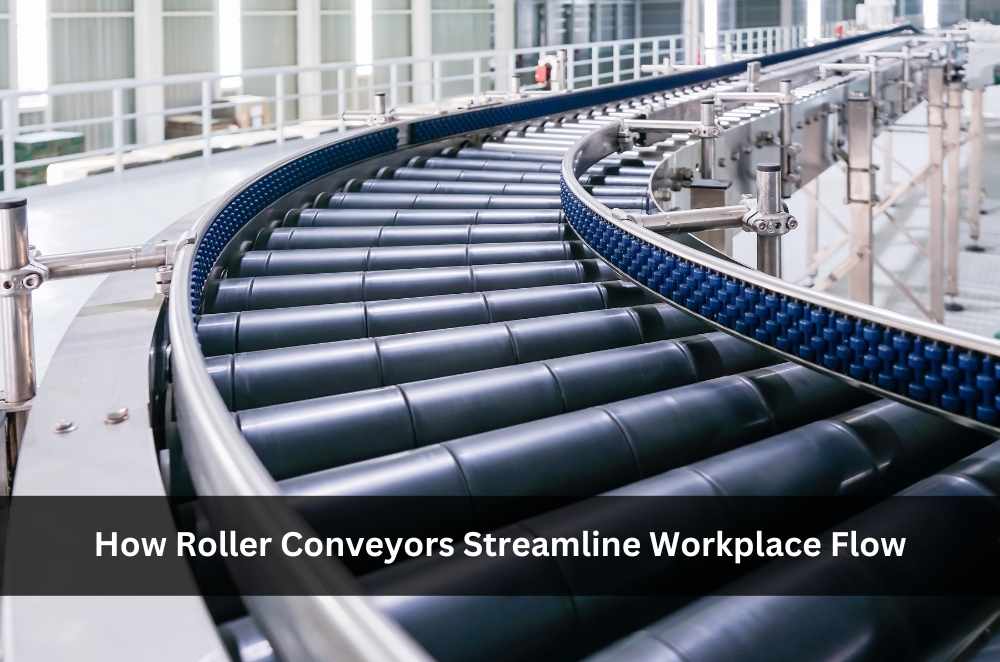
“Convey” gear and handling aids
Load skates, rollers, trolleys, pallet handling aids: when the main challenge is horizontal movement and positioning.
Jacks and positioning tools: for controlled nudging into final placement.
If you only choose a hoist and ignore travel and connection, you’ll end up compensating with brute force.
Decision factors that actually matter
The fastest way to pick gear is to decide what you’re optimising for: control, speed, access, or minimal disruption. On real sites, you’re usually optimising for control and access.
1) Load details (and not just weight)
You need:
weight (with packaging)
dimensions
centre of gravity (does it tip?)
fragility (does it dent, crack, leak?)
available lifting points (or none)
If the load has no obvious lifting points, that’s not a “work it out later” issue — it’s a planning issue.
2) Lift height and clearance
Measure:
floor to underside of the anchor point
headroom above the load
any overhead services and sprinklers
the clearance you need to rotate and settle the item
A lift might “fit” vertically but fail because there’s no room to tilt or rotate into position.
3) The route: doors, turns, ramps, and surfaces
Walk the path and check:
doorway widths (including handles and closers)
turn radii at corners
slopes or ramps
floor surface condition (chips, grates, soft epoxy, uneven joins)
If the surface is questionable, “convey” gear choices (rollers/skates) become just as important as the hoist.
4) Anchor points and what the site will allow
This is where small sites get tricky. You may have:
a rated beam (ideal, if confirmed)
temporary structures (often not suitable)
ceiling grids and services (not suitable)
nothing overhead, meaning you need a different approach
If you can’t confidently identify a suitable anchor point, the plan needs to change — not be “made to work”.
5) People, competence, and control
Even simple setups require a “who does what” plan:
one person in charge of the lift
one person managing the load
clear stop/start signals
exclusion zones that match the site
On a small site, people step into the danger zone without realising, especially when they’re trying to help.
6) Timing and interference
Sydney sites often have:
strict delivery windows
limited loading zones
shared access with other trades
strata or centre management rules
A perfect setup means nothing if you can’t get the equipment to the workface when you need it.
If the team needs a quick way to shortlist what to bring to site, the Conveying & Hoisting Solutions hire catalogue is a practical starting point for matching equipment to access and lift height.
Common mistakes that blow out small jobs
Mistakes aren’t usually dramatic — they’re small oversights that compound.
Assuming the load weight is “about right”
People rely on memory or old paperwork, then discover the actual unit is heavier once it’s on the pallet.
Treat unknown weights as a stop sign until confirmed, because everything downstream depends on it.
Planning for the lift but not the landing
The lift goes fine, then the load has nowhere to go because the final position needs millimetre-level placement and there’s no room for hands.
Plan the last 300 mm like it’s its own job.
Choosing gear without walking the route
A hoist may be perfect, but the trolley or skates can’t pass the tightest point, so the team starts dragging.
The route decides the method, not the other way around.
“We’ll use what’s on site”
Site gear is often mismatched, incomplete, or not in the condition you assumed. Then the lift becomes a parts hunt.
If it’s a critical step, treat the equipment list like a materials list — confirm it.
Overcrowding the task
More hands doesn’t mean more control. On small sites it usually means more confusion.
Fewer people with clear roles is almost always safer and quicker.
Operator experience moment
On small fit-outs, the messiest part is rarely the hoist itself — it’s the first ten minutes when everyone is trying to be helpful and the load is still “free”. I’ve seen jobs run smoothly simply because the lead person stopped the team, marked the no-go zone, and rehearsed the route before the item came off the pallet. Once the path and roles were clear, the actual movement became boring — which is exactly what you want.
A simple 7–14 day first-actions plan
You don’t need a 40-page method statement to avoid chaos. You need a tight sequence of checks that eliminates surprise constraints.
Days 1–2: Walk the site and measure
Confirm load details (weight, size, lifting points)
Walk the route end-to-end
Measure the tightest points (door widths, turns, lift clearances)
Identify where the load can safely “pause” if needed
Write these down. A quick sketch and a few photos (kept internal) are often enough to stop assumptions.
Days 3–5: Choose a method and list the system
Decide lift vs slide vs roll vs a combination
Identify anchor point options (or confirm there isn’t one)
List the full system: hoist/puller + travel gear + connectors + protection + positioning tools
Include the boring extras: edge protection, packing, and spare shackles in appropriate sizes where required.
Days 6–8: Confirm site rules and logistics
Book deliveries to match access windows
Confirm loading zone rules and traffic control needs
Check if centre/strata approvals are required
Coordinate with other trades so you’re not fighting for the same corridor
If the lift relies on a clear path, build that clearance into the schedule like any other dependency.
Days 9–14: Dry run the setup (even a light one)
Brief the team on roles, signals, and exclusion zones
Confirm the landing area is ready (space, supports, fixings, tools)
If possible, do a short “walk-through” of the movement plan without the load
If something feels awkward in rehearsal, it will feel worse with the real weight.
Local SMB mini-walkthrough: what this looks like on a Sydney job
A small team is replacing a heavy unit in a mixed-use building near a busy strip.
Delivery is only allowed before morning peak, and the loading zone sits two car lengths from the service entry.
The service lift is shared, so the route has to be timed around other tenants and cleaners.
Inside, there’s a tight corner at the corridor junction and a slightly uneven join between old and new flooring.
The team maps a pause point just inside the entry so the corridor isn’t blocked if anything needs adjusting.
They plan for controlled horizontal movement first, then a short lift at the final position, with roles and signals locked in.
Choosing a provider or hire approach: what to look for
When you’re selecting where to hire from (or how to hire), think about what reduces risk and rework, not just what looks cheapest on paper.
Range and compatibility: can you get the full system (not just the hoist)?
Availability and lead times: can they supply when your site window demands it?
Clarity of selection: can you quickly match gear to your height, access, and movement plan?
Condition and suitability: do you have confidence the gear arriving will be fit for purpose?
Support for planning: can you sanity-check your list so you’re not missing the one connector that stops the job?
A slightly better plan and a complete kit almost always costs less than lost labour and a second delivery.
Practical opinions
Prioritise a clean route and a controlled landing over “lifting faster”.
If you can’t clearly identify a suitable anchor point, change the method early.
On small sites, fewer people with clearer roles beats “all hands on deck”.
Key Takeaways
Small-site hoisting failures usually come from route, clearance, and landing issues — not the hoist itself.
Choose a system (lift + travel + connection + control), not a single tool.
Walk the path, measure the tight points, and plan the last 300 mm of placement.
A 7–14 day plan built around access windows and roles prevents day-of improvisation.
Common questions we hear from Australian businesses
Q1) We only need to move one item — is it still worth planning the gear properly?
Usually… yes, because single lifts are where teams improvise most. A practical next step is to walk the route and measure the tightest doorway and turning point before you decide on gear. In most Sydney buildings, access constraints (parking, lifts, strata rules) matter as much as the weight.
Q2) Can we just use a chain block for everything?
It depends… on whether you have a suitable overhead anchor point and whether the job is mostly vertical. A practical next step is to write down the movement sequence (lift, then travel, then land) and identify which part is actually hardest. In most cases on Sydney fit-outs, the horizontal movement and positioning take longer than the lift.
Q3) What’s the most common thing people forget when hiring hoist and convey gear?
In most cases… it’s the connectors and protection: the right slings, shackles, and edge protection for the load. A practical next step is to list the full system and add a “connection” line item before finalising hire. Around Sydney, tight corridors and finished surfaces make damage prevention just as important as the lift.
Q4) How do we reduce risk when multiple trades are working in the same area?
Usually… by defining roles, setting an exclusion zone, and timing the move so you’re not competing for the same access path. A practical next step is to schedule a short pre-task brief and confirm who controls stop/start signals. On many Australian sites, shared access areas and delivery windows are where the pressure builds fastest, so clarity up front pays off.


Write a comment ...