
Material flow is one of the easiest ways to lose a day without noticing until it’s gone.
On tight-access jobs, every extra “double-handle” (move it twice, store it twice, clean it twice) quietly drains labour and clogs the same pinch points.
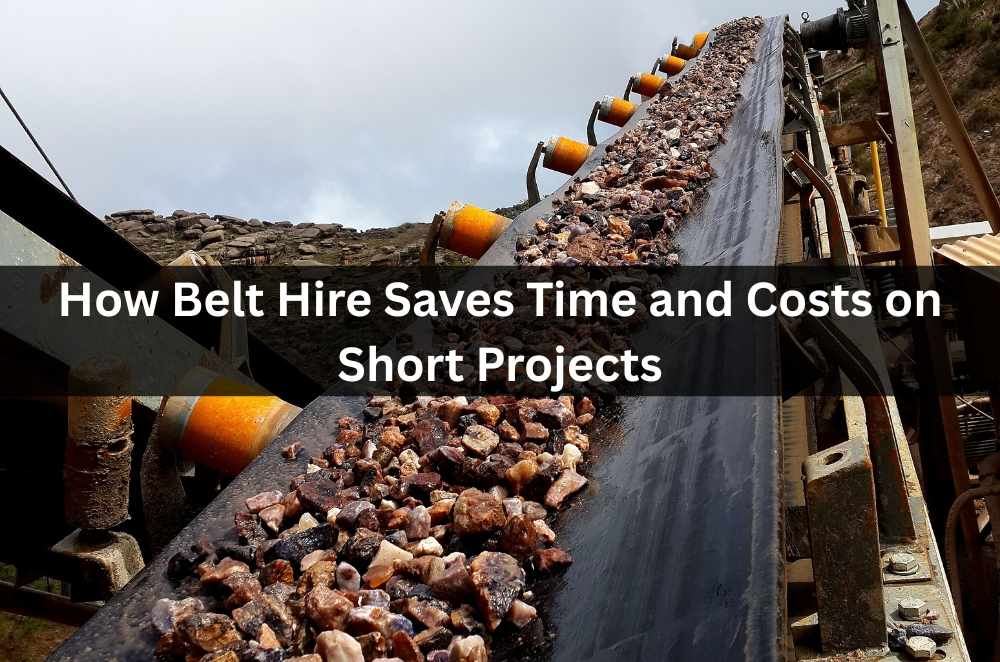
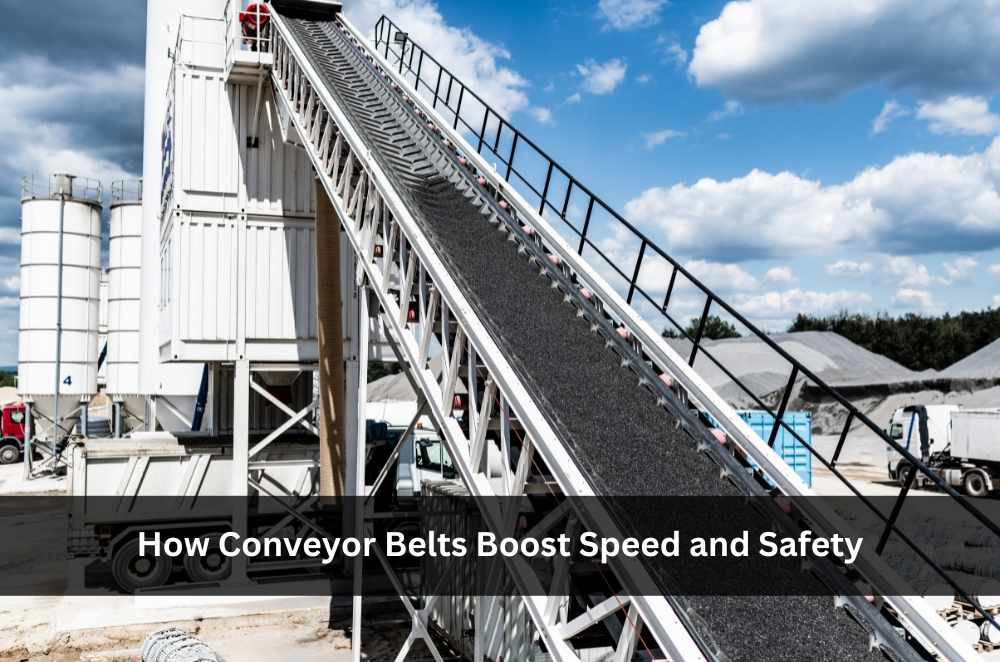
When the job needs a reliable conveyor belt project partner, the biggest gains usually come from planning the interfaces—where material is fed, where it lands, and how the conveyor coexists with other trades—rather than obsessing over peak output.
Why conveyors become a schedule issue, not just an equipment choice
Conveyors usually enter the picture once barrows, skid-steers, or manual handling are already hitting limits.
That means the site is already under pressure, and any new system must reduce friction, not add another thing to manage.
A conveyor can remove handling steps, but it can also create fresh constraints if it blocks access, fights the program sequence, or discharges into a spot that needs rework.
Treat the conveyor as part of a site workflow, not a standalone hire item.
Decision factors that matter when choosing a conveyor approach
1) Define the whole workflow, not just the distance
Start with where material is generated, how it reaches the infeed, what controls spillage, and what happens after discharge.
If discharge creates a new pile that must be rehandled, the bottleneck has simply moved.
2) Prioritise steady flow over peak capacity
Many sites benefit more from consistent throughput than from a headline maximum rate.
Match the conveyor’s practical output to the crew’s ability to feed it and the downstream ability to bin, spread, or remove material.
3) Footprint, crossings, and exclusion zones decide whether it “fits”
A conveyor that slices through a shared corridor will trigger constant stop–start.
Plan protected crossings, clear walkways, and predictable rules so other trades aren’t forced into workarounds.
4) Power, access, and housekeeping are part of the selection
If power supply is unreliable, access for repositioning is limited, or housekeeping can’t keep up, the conveyor becomes an interruption.
Plan lead routes, wet weather impacts, and clean-down time the same way you plan labour.
5) Ownership and supervision keep the system stable
Conveyors sit between crews: the crew generating material, the crew receiving it, and the crew controlling safe conditions around the belt.
Decide who can pause operations, who fixes issues, and how communication works when the site gets noisy.
Common mistakes that turn conveyor hire into frustration
Placing the conveyor where it’s convenient to drop it, not where it can be fed consistently.
A conveyor starved of material still consumes space and attention.
Ignoring the discharge outcome.
If discharge blocks access or creates a second handling step, the job pays back the “saved time” later.
Underestimating trade interfaces.
When a conveyor crosses a shared route, the site needs a plan for who gets priority and when.
Assuming housekeeping will sort itself out.
Spillage, dust, and mud build-up create slip risks and ad-hoc fixes that slow everyone down.
Treating it like set-and-forget.
Even a good layout needs small adjustments as the site evolves.
A simple first-actions plan for the next 7–14 days
Days 1–2: Identify the real bottleneck.
Write down what’s slowing the job today (distance, stairs, volume, access, fatigue, or conflict), then confirm where material must end up.
Days 3–4: Walk the route and sketch a minimum viable layout.
Pick an infeed that can be fed reliably and a discharge point that doesn’t create a second bottleneck, then mark crossings, walkways, and exclusion zones.
Days 5–7: Turn the layout into site rules.
Set rules for crossings, housekeeping rhythm, who can pause the belt, and how exceptions get approved when the site gets busy.
Days 8–10: Pressure-test with the people who will run it.
Walk the path with supervisors, operators, and receiving crews and ask: “What breaks first on a messy day?”
Days 11–14: Run one controlled trial and update fast.
Trial the setup on a medium-volume task, then adjust layout and rules based on reality rather than assumptions.
Operator experience moment
The conveyor itself is rarely the hard part; it’s the moment it becomes “everyone’s responsibility” and therefore no one’s.
On busy sites, the best outcomes happen when one person owns the flow and can pause early, fix small issues, and restart without debate.
When ownership is unclear, people keep feeding the belt while problems build, and the eventual stop is longer and more disruptive than it needed to be.
Local SMB mini-walkthrough: a typical Sydney conveyor scenario
A small demo job produces mixed spoil in a rear area with limited access.
Street stopping space is tight and deliveries need booking around peak traffic.
The best route out crosses a shared corridor used by multiple trades.
The bin location is fixed, but the discharge zone can’t block egress or neighbour boundaries.
The site needs steady flow to avoid pile-ups and rehandling.
The win comes from protected crossings, a defined housekeeping rhythm, and one clear owner controlling stop–start decisions.
Practical Opinions
Sequence beats speed.
Steady flow beats peak output.
Clear ownership beats “best intentions.”
Choosing the right support without overbuying the solution
Start by defining the job in plain terms: material type, volume, distance, slope, access constraints, and what happens at discharge.
Those details usually narrow the options quickly because they reveal whether the real constraint is reach, footprint, throughput consistency, or interface control.
Ask how the setup stays safe and workable when the day shifts.
If success depends on perfect behaviour—no weather impact, no trade clashes, no site layout changes—the plan will crack under normal site conditions.
Also factor in the “hidden work” that makes conveyors succeed: controlling crossings, managing spillage, keeping the infeed consistent, and keeping communications simple.
A setup that looks cheaper but requires constant babysitting can cost more in lost productivity and site friction.
Making the plan stick on a live site
A plan only works when it’s easy to follow under pressure.
Keep the working rules visible (a one-page sketch, a whiteboard, or a daily brief note) and update them when reality changes rather than letting unofficial workarounds become normal.
Treat the conveyor zone like a micro-workfront.
Define the owner, define crossings, define housekeeping intervals, and define stop triggers so the site can pause early and restart smoothly.
Plan for repositioning if the job footprint is changing fast.
A layout that adapts without drama will outperform a “perfect” layout that collapses the first time the program slips.
Key Takeaways
Conveyors work best when the infeed, discharge, and site interfaces are planned as a single system.
Reliable output comes from steady flow, protected crossings, and housekeeping—not chasing peak capacity.
Most headaches come from poor placement, discharge outcomes, and unclear stop–start ownership.
A 7–14 day plan with one controlled trial stabilises material movement faster than endless re-planning.
Common questions we hear from Australian businesses
Q1) How do we know if a belt conveyor is worth it compared to barrows or a skid-steer?
Usually it’s worth considering when handling steps are multiplying or access constraints force slow, repeated movement; the next step is to count how many times material is touched today and check whether a conveyor can remove one full handling stage, noting Sydney realities like tight corridors and limited bin placement.
Q2) What should we decide first: the conveyor spec or the site layout?
In most cases the layout comes first because footprint, crossings, and discharge outcomes decide what will actually work; the next step is a quick route walk to mark infeed, discharge, and protected crossings, with a local note that metro sites often have less buffer space than the program assumes.
Q3) How do we stop conveyors becoming a constant stop–start headache?
It depends on ownership and interface control; the next step is to assign one on-site owner for the conveyor zone and set simple rules for housekeeping, crossings, and stop triggers, remembering that on busy Sydney jobs the biggest disruptor is usually trade conflict around shared access routes.
Q4) What’s the most common planning miss with conveyor setups?
Usually it’s the discharge point—creating a pile that needs rehandling or blocks movement; the next step is to decide exactly what happens at discharge (binning, spreading, stockpiling) and confirm the space stays viable as the site changes, especially on tighter inner-metro footprints.


Write a comment ...